Table of Contents
Introduction
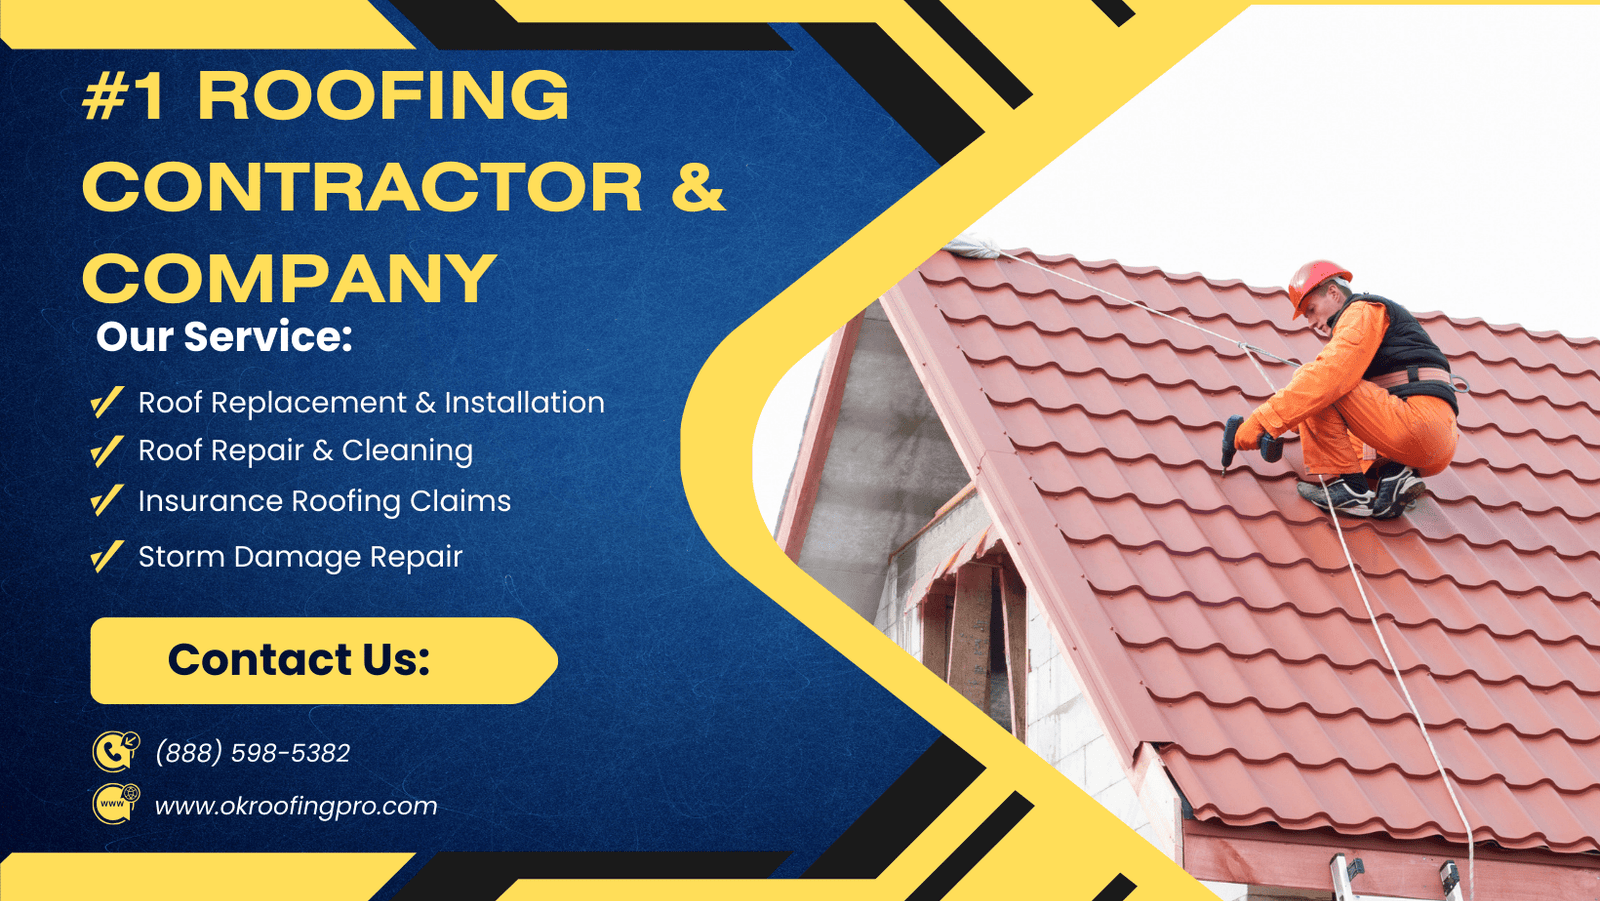
Roof cleaning is an essential home maintenance task that not only enhances the aesthetic appeal of your property but also extends the lifespan of your roofing materials. Neglecting your roof can lead to the accumulation of moss, algae, lichen, and debris, which can deteriorate the roofing structure over time. This article presents a complete roof cleaning guide for beginners, outlining a step-by-step process that anyone can follow to maintain their roof effectively.
Assessing Your Roof
Before embarking on the cleaning journey, it is crucial to assess the condition of your roof. Take time to check for signs of damage such as missing shingles, leaks, or structural weakness. If your roof is in poor condition, consider consulting a professional before proceeding with any cleaning efforts. Furthermore, ensure you have a stable ladder and safety gear ready for use during the cleaning process.
Gathering Necessary Supplies
To ensure an effective cleaning, gather all necessary supplies. You will need a pressure washer or a garden hose with a spray nozzle, a cleaning solution designed for roofs, a soft-bristle brush or broom, a bucket, and protective equipment such as gloves, goggles, and a mask. It is essential to choose a roof cleaner that is safe for your specific roofing material, be it shingles, tiles, or metal.
Preparing the Area
Before starting the cleaning process, prepare the area around your home by covering landscaping and nearby plants with tarps or plastic sheeting. This is to protect them from any runoff from the cleaning solution. Move patio furniture or any objects that may be in the vicinity of the cleaning area to prevent damage or contamination.
Applying Roof Cleaning Solution
Once you have gathered your supplies and prepared the work area, it is time to apply the roof cleaning solution. Mix the cleaning solution according to package instructions and pour it into a spray bottle or the pressure washer. Stand on a stable ladder or use an extension wand to reach the roof safely. Begin spraying the solution from the top of your roof downwards, allowing it to soak into the dirt and contaminants for about 15-20 minutes. Be careful not to let the solution dry completely.
Scrubbing the Roof
After letting the cleaning solution take effect, it’s time to scrub the roof gently. Using a soft-bristle brush or broom, work on the affected areas, applying moderate pressure to dislodge built-up grime and vegetation. Be cautious not to damage the roofing material during this process. Once you have scrubbed the desired areas, it’s essential to rinse off any remaining cleaning solution thoroughly.
Rinsing and Inspecting
Using a garden hose or pressure washer, rinse the roof starting from the top and working your way down. This method ensures that dirt and debris are washed away efficiently. After rinsing, take the time to inspect your roof again for any signs of damage or lingering dirt that may need attention. This is the time to also check your gutters and downspouts for any clogs.
Conclusion
In conclusion, regular roof cleaning is a simple yet vital aspect of home maintenance that enhances both the appearance and longevity of your roof. By following this step-by-step guide, beginners can confidently tackle their roof cleaning tasks while ensuring safety and effectiveness. Always remember, if your roof shows any significant signs of damage or if the task seems daunting, do not hesitate to seek professional assistance to protect your investment.
Ready to restore your roof’s protection? Dial (888) 598-5382 now for expert guidance. Prepare your ZIP code beforehand to connect with our closest service professionals efficiently.
Last Updated on January 17, 2026 by OKroofingPro