Table of Contents
Introduction
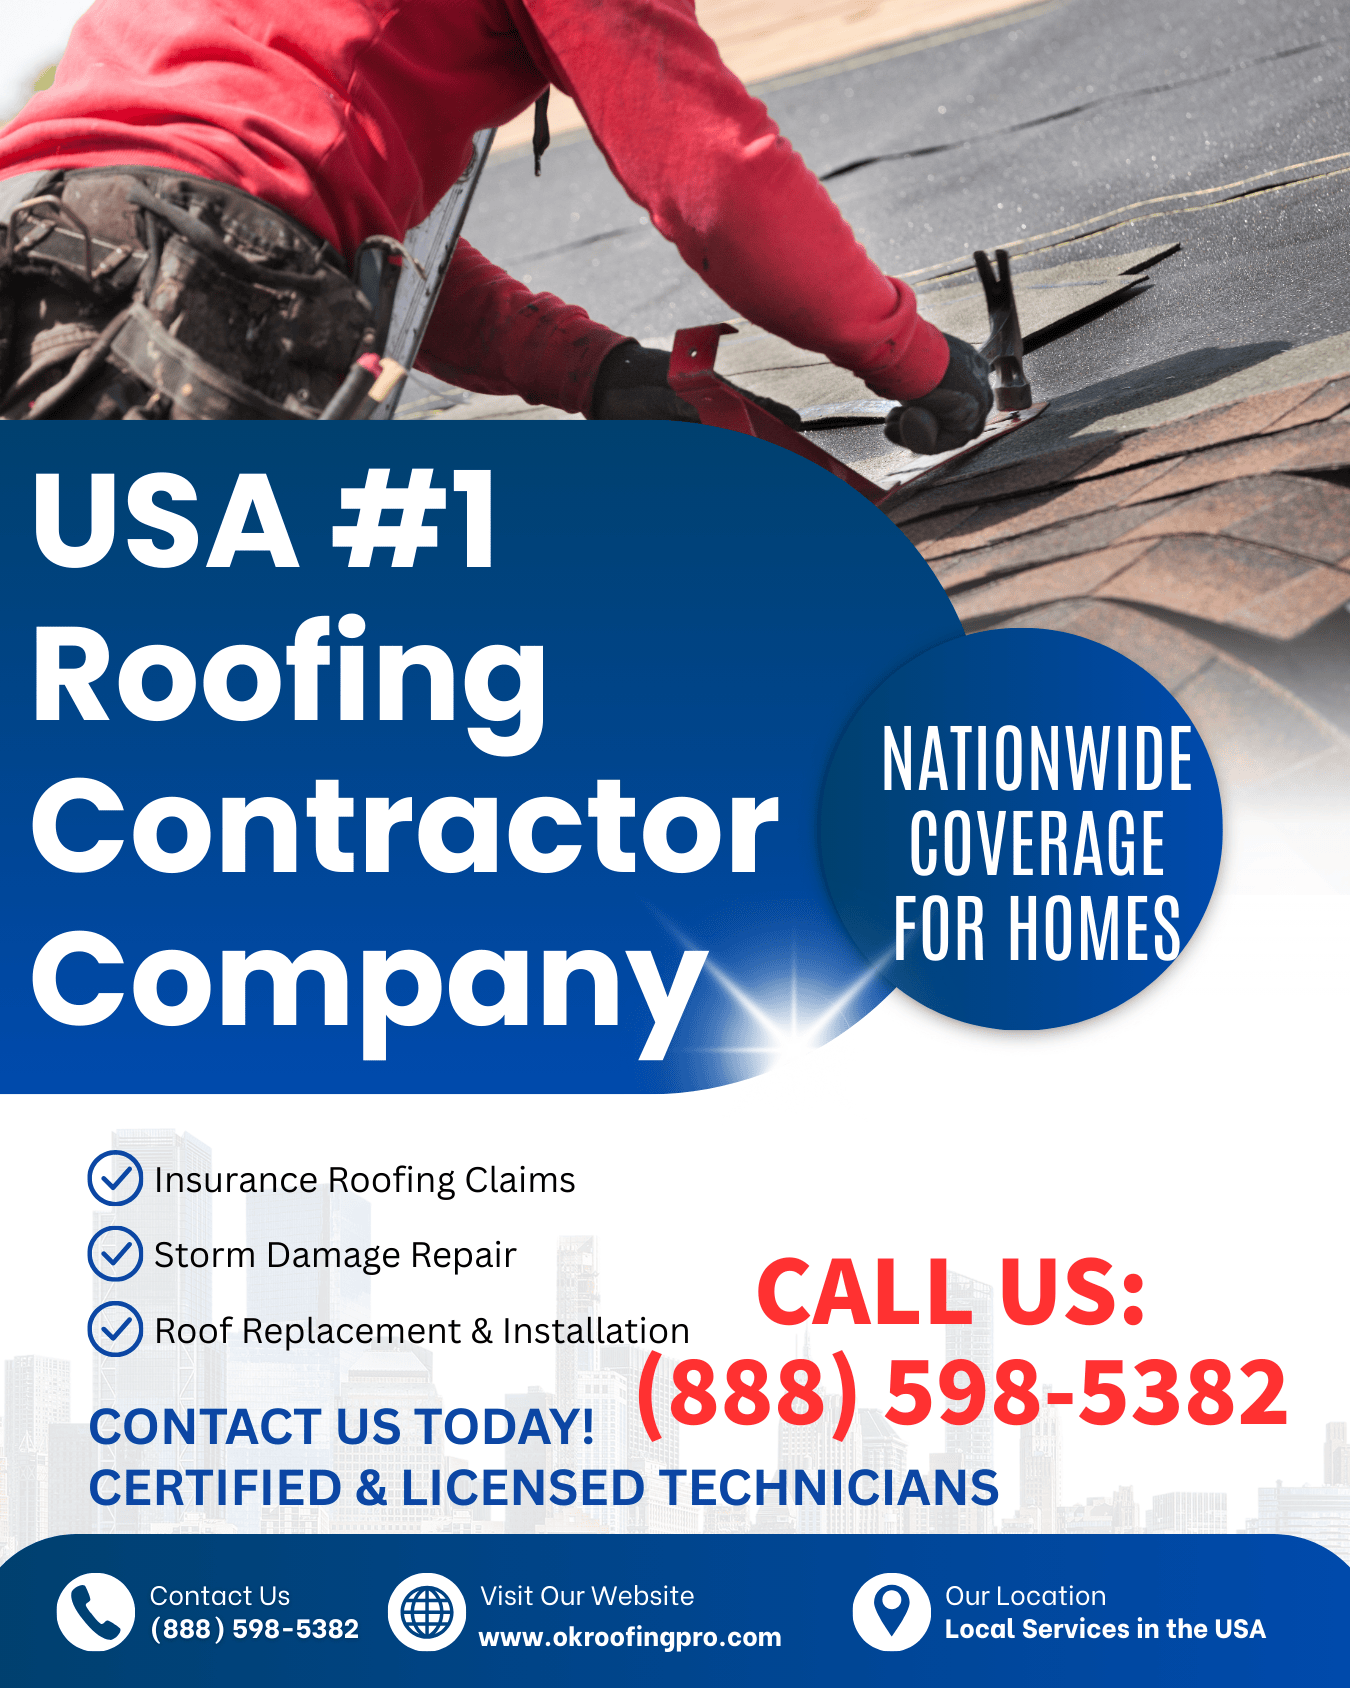
Roof inspections are an essential part of home maintenance, helping homeowners identify potential issues before they escalate into costly repairs. Whether you’re a new homeowner or simply want to enhance your knowledge, this complete roof inspection guide will walk you through the step-by-step process of examining your roof effectively. By following these guidelines, you can ensure your roof remains in excellent condition, thereby prolonging its lifespan and safeguarding your home.
Understand the Importance of Roof Inspections
Before diving into the inspection process, it’s crucial to comprehend why regular roof inspections are necessary. Roofs are subjected to various weather conditions, and over time, wear and tear can lead to leaks and structural damage. Regular inspections can help you catch these problems early, saving you money in the long run and maintaining the integrity of your home.
Gathering Necessary Tools
To conduct a thorough roof inspection, you’ll need some basic tools. Essential items include binoculars for surveying from the ground, a sturdy ladder for closer inspection, a flashlight to illuminate dark areas, and a camera to document any findings. Additionally, have a notepad ready to take notes, as this will help you keep track of any issues you find.
Check Safety Precautions
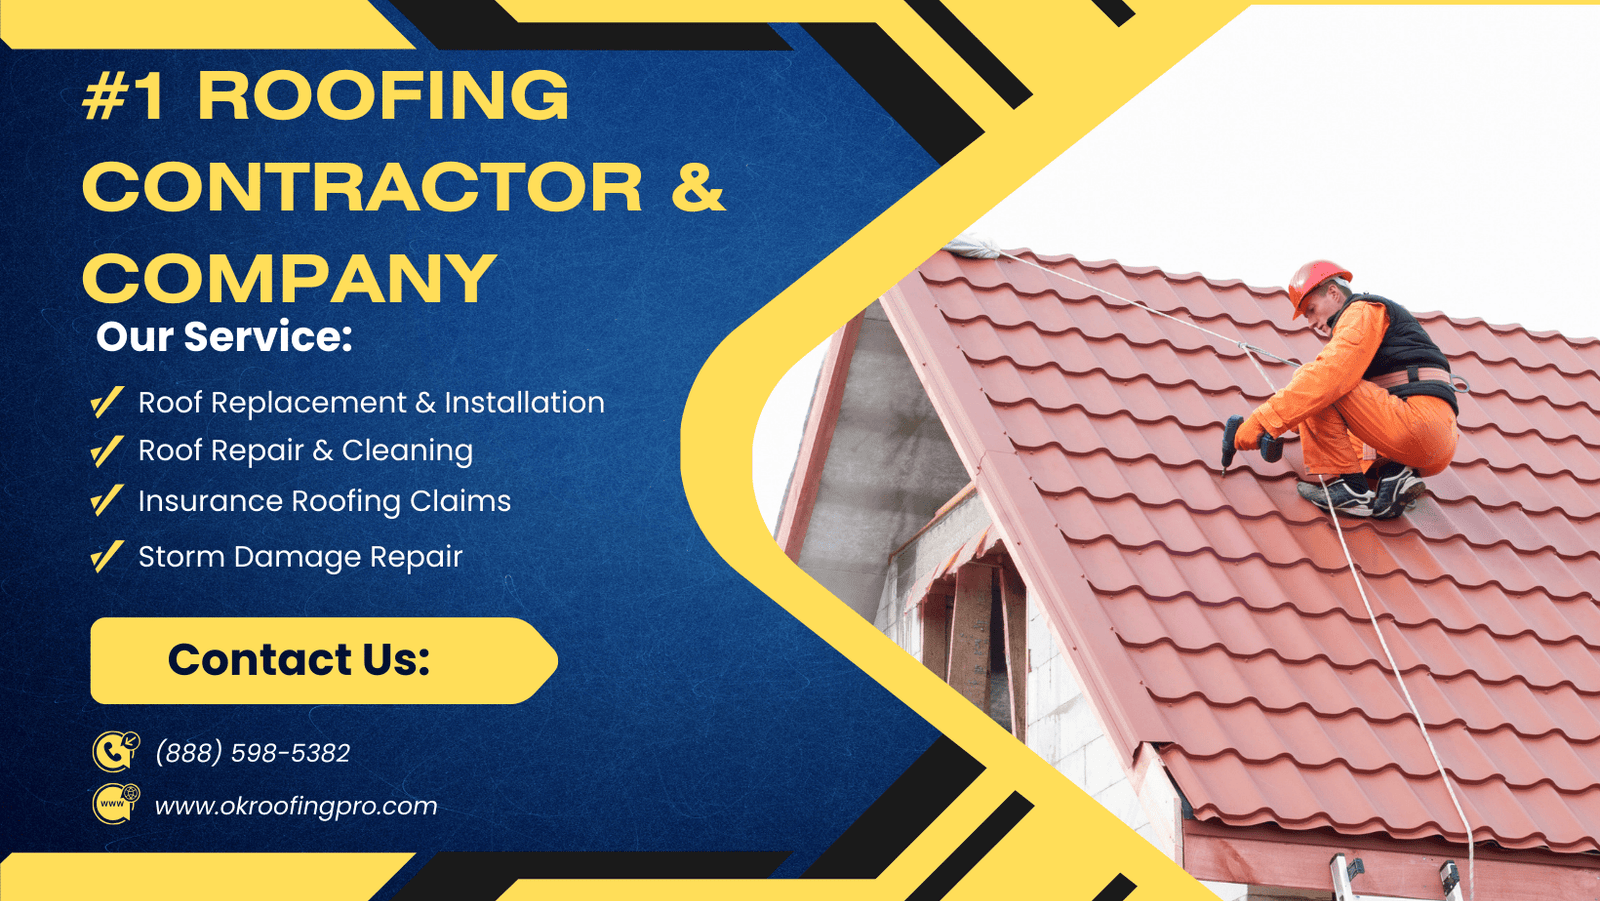
Your safety is paramount while conducting a roof inspection. Always wear non-slip shoes and use a sturdy ladder that extends beyond the roofline. If you’re uncomfortable with heights or lack the experience, consider hiring a professional roofing contractor. If you proceed on your own, avoid inspecting during inclement weather and ensure you have someone to assist you.
Conducting the Exterior Inspection
Start your roof inspection from the ground. Use binoculars to scan for missing, bent, or damaged shingles. Look for signs of algae growth, which can indicate moisture issues. Next, inspect the flashing around chimneys, vents, and skylights, ensuring there are no gaps or rust. Don’t forget to check the gutters for debris, as clogged gutters can lead to water pooling on the roof, which may cause leaks.
Inspecting From the Roof
If it’s safe to do so, carefully climb onto the roof for a closer inspection. Walking on the roof allows you to examine it more thoroughly. Look for any signs of wear, such as cracks, loose shingles, or exposed underlayment. Pay close attention to low spots where water could collect, as this can lead to leaks. Document your findings with photographs to assess the condition over time and discuss them with a professional if needed.
Assessing the Interior Condition
Don’t overlook the interior of your home during the inspection process. Go into the attic and look for water stains or mold on the rafters or insulation. These are signs of potential leaks that need immediate attention. Additionally, check ventilation systems to ensure they are properly functioning and not allowing moisture to accumulate.
Conclusion
A comprehensive roof inspection is a proactive measure that every homeowner should embrace. By thoroughly checking both the exterior and interior of your roof and documenting any issues found, you can prevent future problems and maintain your home’s safety and value. Regular inspections, whether conducted by yourself or by professionals, will help you stay one step ahead in roof maintenance, ensuring that you protect one of your most significant investments.
Ready to restore your roof’s protection? Dial (888) 598-5382 now for expert guidance. Prepare your ZIP code beforehand to connect with our closest service professionals efficiently.
Last Updated on January 17, 2026 by OKroofingPro