Table of Contents
Introduction
Cleaning your roof is an essential aspect of home maintenance that can significantly enhance your property’s longevity and aesthetic appeal. For beginners, the task may seem daunting, but with the right approach and guidance, it can be manageable and even rewarding. This step-by-step guide aims to equip novices with the necessary knowledge and techniques for effective roof cleaning.
Assess the Roof Condition
Before diving into the cleaning process, the first step is to assess the condition of your roof. Look for visible signs of wear, such as missing shingles, damaged tiles, or substantial debris accumulation. It’s also crucial to check for mold, moss, or algae growth, which can cause significant damage over time. Adequate inspection not only helps you understand what cleaning methods are suitable but also ensures you do not inadvertently cause further damage.
Gather the Necessary Equipment
Once you’ve assessed the situation, the next step is to gather your cleaning supplies. Generally, you will need a ladder, safety goggles, gloves, a roof brush or soft broom, a garden hose with a spray nozzle, and a cleaning solution. For mildew and algae, a mixture of water and bleach or commercially available roof cleaning solutions can be effective. Make sure you have a ladder rated for your roof’s height and that you are comfortable working on such an elevation.
Prioritize Safety
Safety should always come first when cleaning your roof. Wear slip-resistant shoes and secure your ladder on stable ground. It’s advisable to have someone on the ground to assist and stabilize the ladder. Additionally, consider working on a clear day to avoid slippery conditions. Following OSHA safety guidelines will further enhance your safety during the cleaning process.
Clear Debris from the Roof
Start the cleaning process by removing any loose debris such as leaves, twigs, or dirt. Use a roof rake or a soft broom to carefully eliminate these unwanted materials. This step prevents larger issues like clogging gutters or trapping moisture, both of which can lead to mold growth and other problems down the line. Once removed, you can prepare for washing the roof.
Apply the Cleaning Solution
With the roof clear of debris, it’s time to apply your chosen cleaning solution. Whether you’re using a commercial product or a homemade bleach solution, it’s best to follow the manufacturer’s instructions for application. Spray the solution evenly across the affected areas, allowing it to sit for several minutes to work on the stains and growths. This waiting period is critical for achieving optimal results.
Rinse Thoroughly
After allowing the cleaning solution to penetrate, it’s essential to rinse your roof thoroughly with water. Use a garden hose with a spray nozzle to direct water down the roof slope, which conveys dirt and grime away from the roof surface. Ensure that you don’t spray upwards, as this can force water under shingles and lead to leaks. A thorough rinse not only clears away residue but also safeguards against potential water damage.
Conclusion
Roof cleaning may seem intimidating at first, particularly for beginners, but by following this step-by-step guide, you can effectively manage the task with confidence. Remember, thorough assessment, proper safety measures, and the right techniques will ensure a clean roof that enhances your home’s exterior. Regular maintenance will keep your roof in optimal condition, ultimately extending its lifespan and contributing to the overall value of your property.
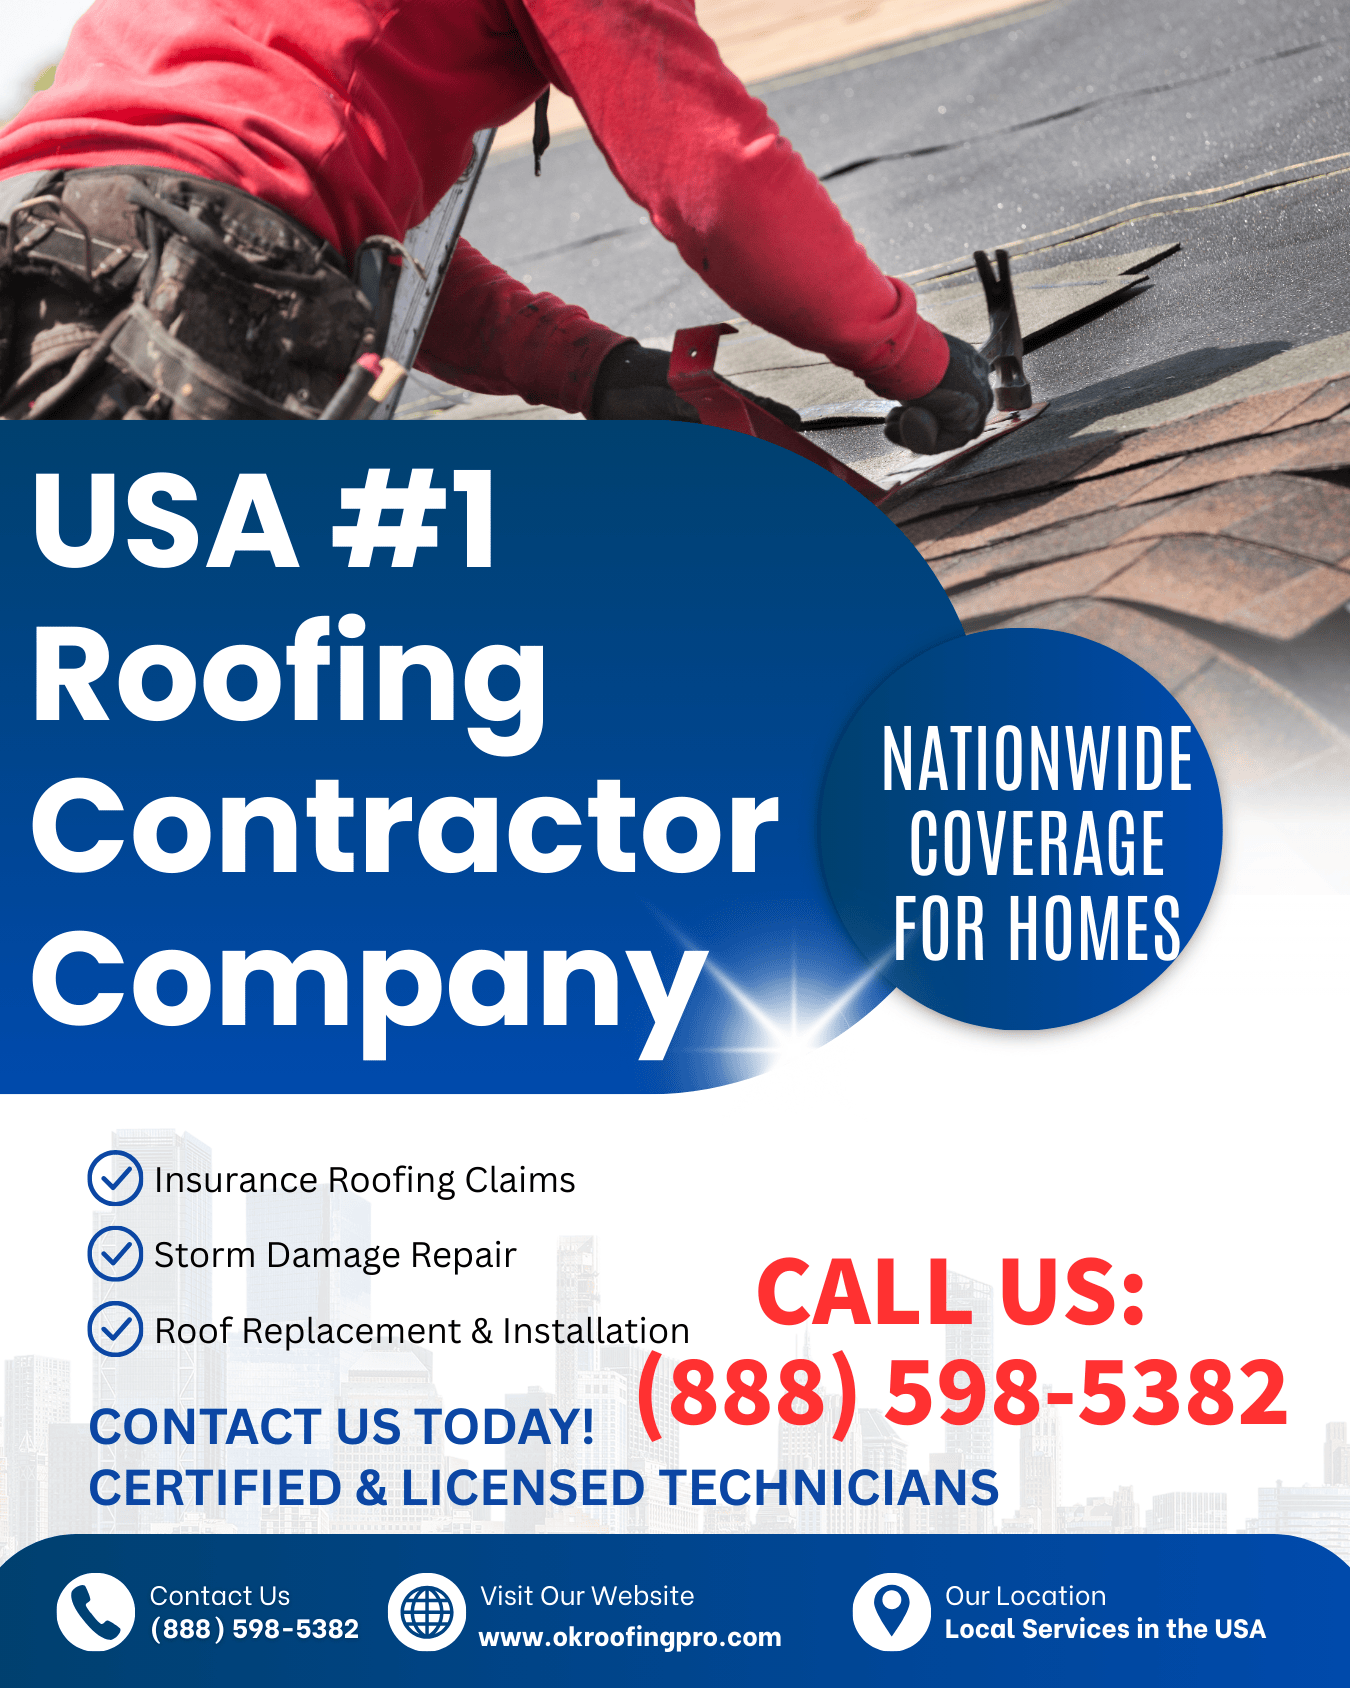
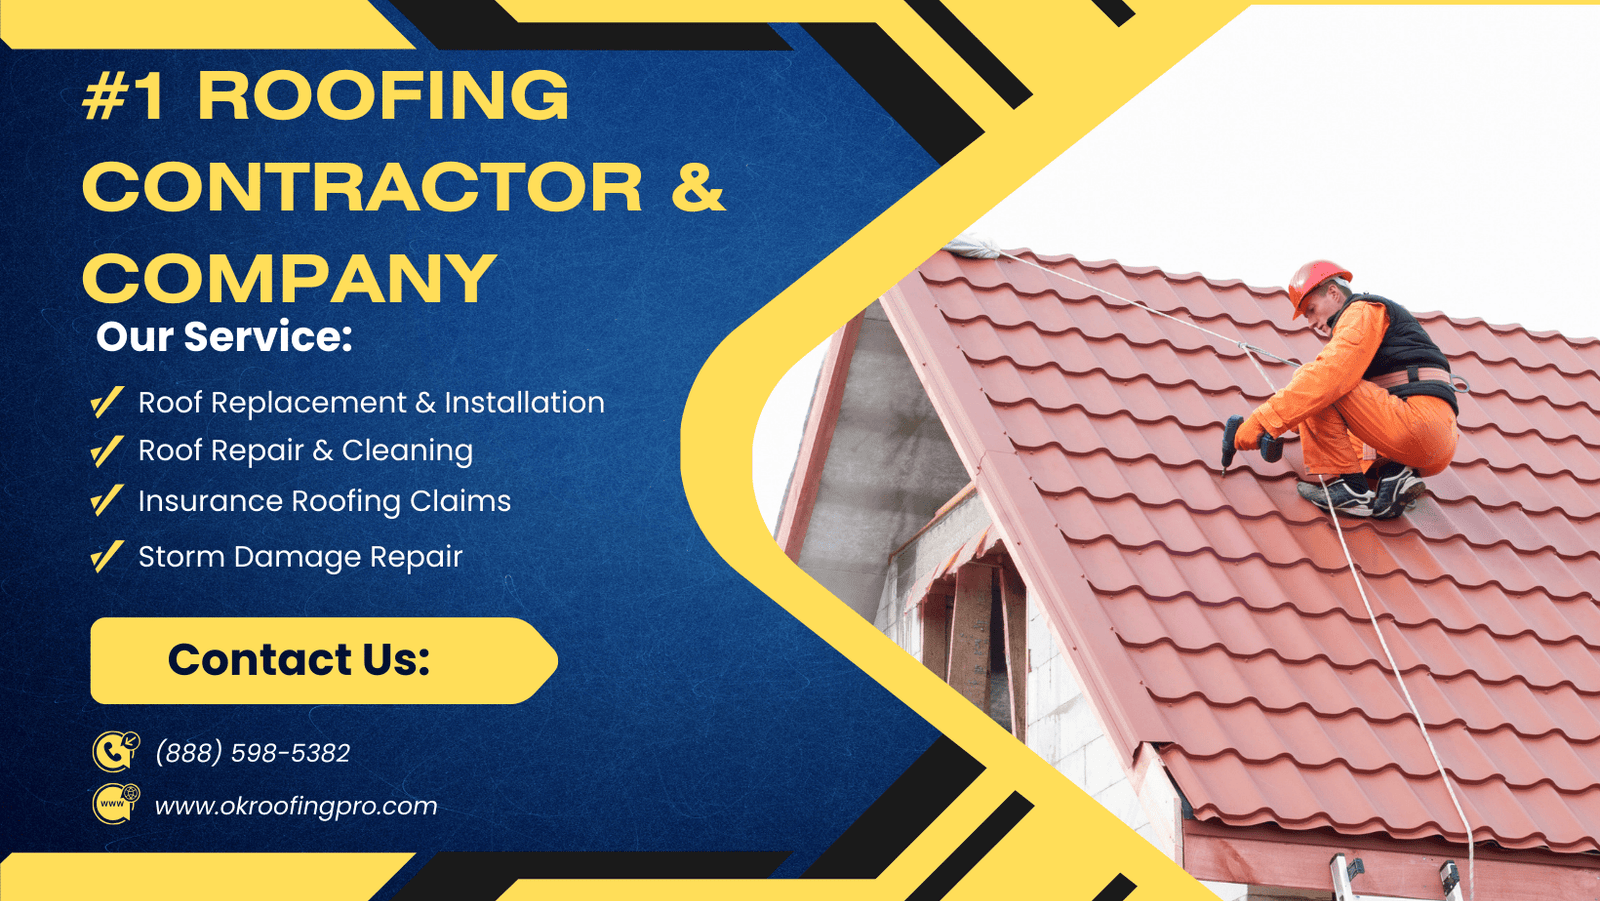
Ready to restore your roof’s protection? Dial (888) 598-5382 now for expert guidance. Prepare your ZIP code beforehand to connect with our closest service professionals efficiently.
Last Updated on November 28, 2025 by OKroofingPro