Table of Contents
Introduction
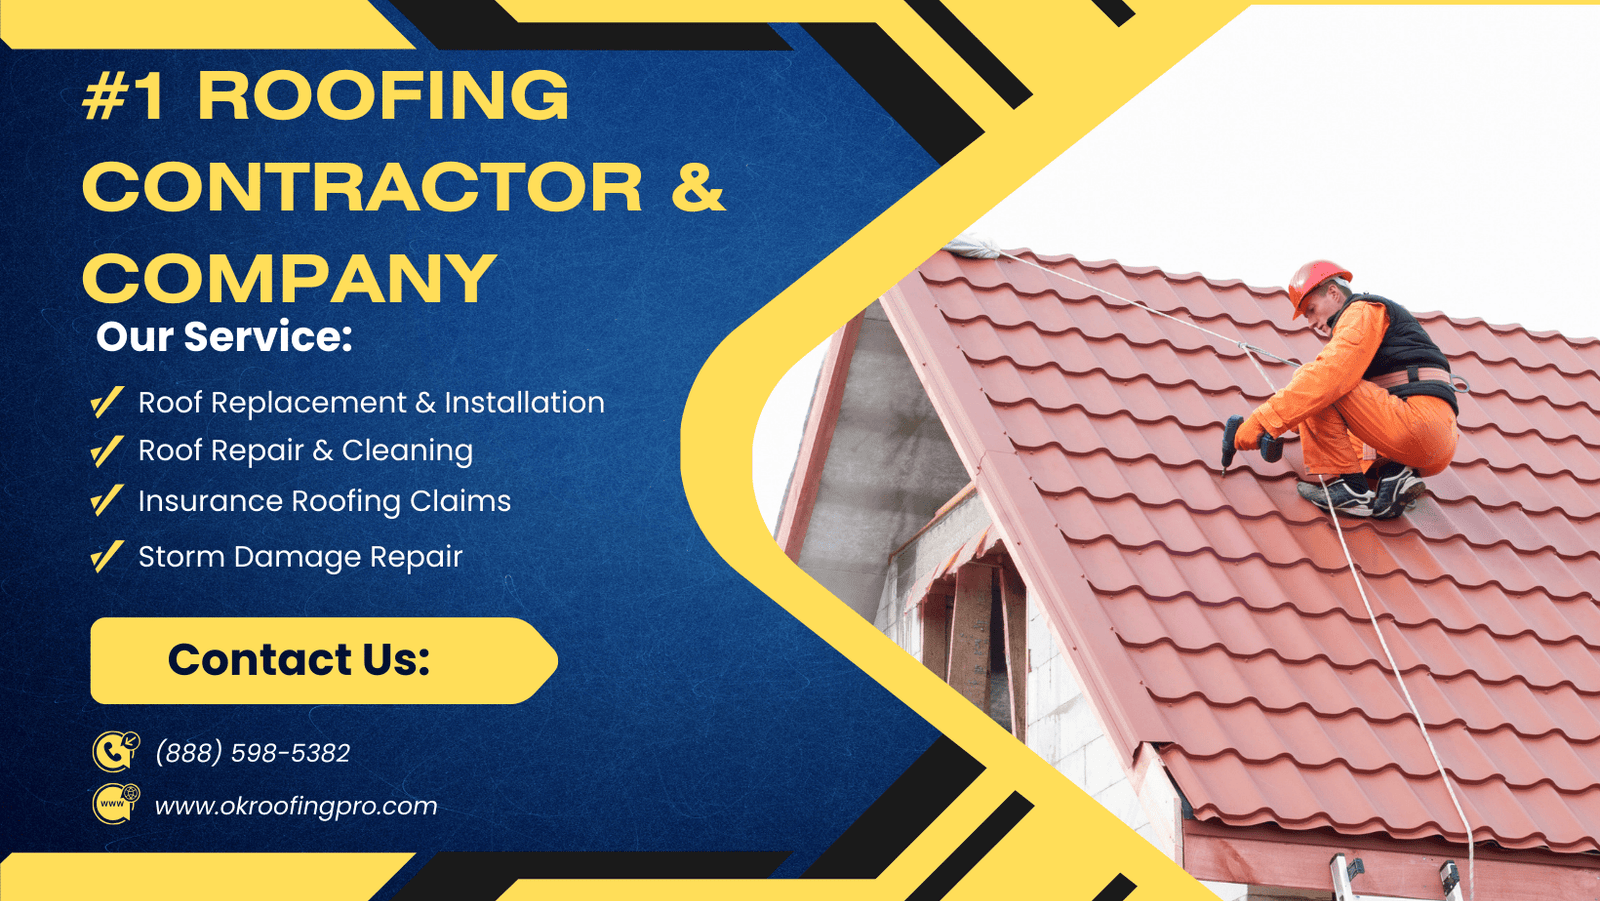
A tile roof is known for its durability and aesthetic appeal, making it a popular choice among homeowners. However, like any roofing system, it requires regular inspection and maintenance to uphold its functionality and longevity. Conducting a thorough roof inspection can help identify issues early, ensuring that your investment remains protected. This article serves as a comprehensive guide for tile roof inspections, highlighting key steps to ensure thorough checks.
Gather Necessary Tools and Safety Gear
Before commencing your inspection, it’s crucial to equip yourself with the right tools and safety gear. Essentials include a sturdy ladder, safety harness, and non-slip shoes to prevent accidents. Additionally, having a flashlight, camera, notepad, and measuring tape will facilitate detailed documentation of any findings. Safety should always be your priority, so ensure that you are comfortable working at heights and have someone nearby if possible.
Conduct a Visual Inspection
The first step in a tile roof inspection is a thorough visual check. Begin from the ground, examining the entire roof for visible signs of damage. Look for cracked, broken, or missing tiles, as these can lead to water infiltration and further structural damage. Pay attention to the roof’s valleys, ridges, and edges, as these areas often experience heightened wear and tear. Document any irregularities with photos for future reference.
Check Underlayment and Flashing
Once you have performed a visual check, it’s important to inspect the underlayment and flashing. These components act as essential barriers against water intrusion. Carefully lift a few tiles to examine the underlayment for signs of wear, deterioration, or moisture damage. Similarly, inspect the flashing around chimneys, vents, and skylights; this is where leaks are most likely to occur. Ensure that the flashing is intact and properly sealed to avoid future complications.
Inspect for Algae and Moss Growth
Tile roofs are prone to algae and moss growth, especially in humid climates. These organisms can compromise the integrity of the tiles and lead to decay if left unchecked. During your inspection, look for any dark streaks or green patches on the surface of the tiles. If any growth is detected, consider utilizing a gentle cleaning method or contacting a professional for safe removal. Prevention can also be achieved by ensuring proper drainage and adequate sunlight reaches the roof.
Assess the Roof’s Overall Condition
After checking for specific issues, take a moment to assess the roof’s overall condition. Look for signs of sagging or unevenness, which may indicate underlying structural problems. Pay attention to the roof’s age and previous maintenance records; older roofs may require more frequent inspections and proactive care. This holistic evaluation will help determine whether repairs, maintenance, or a replacement is necessary.
Conclusion
Regular inspections are vital to maintaining the health of a tile roof. By following this guide, homeowners can conduct thorough checks to identify potential issues early and ensure the longevity of their roof. Remember to prioritize safety during inspections and consider hiring a professional when in doubt. Regular maintenance can protect your investment and enhance the overall value of your home. A well-maintained tile roof not only safeguards against weather elements but also enhances the aesthetic appeal of your property.
Ready to restore your roof’s protection? Dial (888) 598-5382 now for expert guidance. Prepare your ZIP code beforehand to connect with our closest service professionals efficiently.
Last Updated on January 25, 2026 by OKroofingPro