Table of Contents
Introduction
Replacing cedar shake shingles on your roof is a significant task that requires careful planning and execution. Cedar shakes offer a natural aesthetic, durability, and excellent insulation properties. However, over time, exposure to the elements can lead to deterioration, necessitating their replacement. Understanding the steps involved will not only ensure a successful project but also maintain the integrity and beauty of your home.
Assessing the Condition of Existing Shingles
Before embarking on the replacement process, it is crucial to assess the condition of your existing shingles. Begin by inspecting the roof for any signs of damage such as cracks, holes, or mold growth. Take note of the overall condition—if the majority of the shingles are compromised, a complete replacement may be warranted. Conversely, if only a few areas are damaged, spot repairs might suffice. This evaluation will guide you in determining the scope of the project.
Gathering Necessary Materials and Tools
Once you’ve assessed the condition of your roof, the next step is to gather all necessary materials and tools. You will need new cedar shake shingles, underlayment for moisture protection, nails, a hammer, a utility knife, and a roof ladder. It is also advisable to have safety equipment, including gloves and goggles, to protect yourself during the replacement process. Planning your materials in advance will streamline the project and minimize downtime.
Preparing the Roof for Replacement
Preparation is a key aspect of any roofing project. Start by removing the old shingles, which can be done using a pry bar or a roofing shovel. Ensure you work carefully to avoid damaging the roof deck beneath. After removing the shingles, inspect the underlying deck for damage; replace any rotten or compromised wood to create a stable base for the new shingles. Afterward, install underlayment to provide additional protection against moisture.
Installing New Cedar Shake Shingles
With the roof adequately prepared, you can begin installing the new cedar shake shingles. Start from the bottom edge of the roof and work your way up to ensure proper water drainage. Position each shingle overlapping its lower neighbor to prevent leaks. As you nail the shingles into place, be mindful not to overdrive the nails, as this can compromise the integrity of the shingles. For enhanced durability, consider using copper or stainless-steel nails, which resist corrosion better than standard nails.
Finishing Touches and Maintenance
After the installation of the new shingles, inspect your work to ensure everything is properly secured and aligned. Trimming any excess with a utility knife may be necessary to create a clean edge. To maintain the aesthetics and longevity of your cedar shakes, regular maintenance is essential. This may include cleaning the roof periodically to prevent mold or moss buildup, as well as checking for any damaged areas that may require attention.
Conclusion
Completing the key steps for replacing cedar shake shingles involves thorough preparation and careful execution. By assessing the existing conditions, gathering necessary materials, preparing the roof, and following proper installation techniques, you can successfully refresh your roof and enhance your home’s exterior. With regular maintenance, your new cedar shake shingles can provide many years of beauty and protection, making your investment worthwhile.
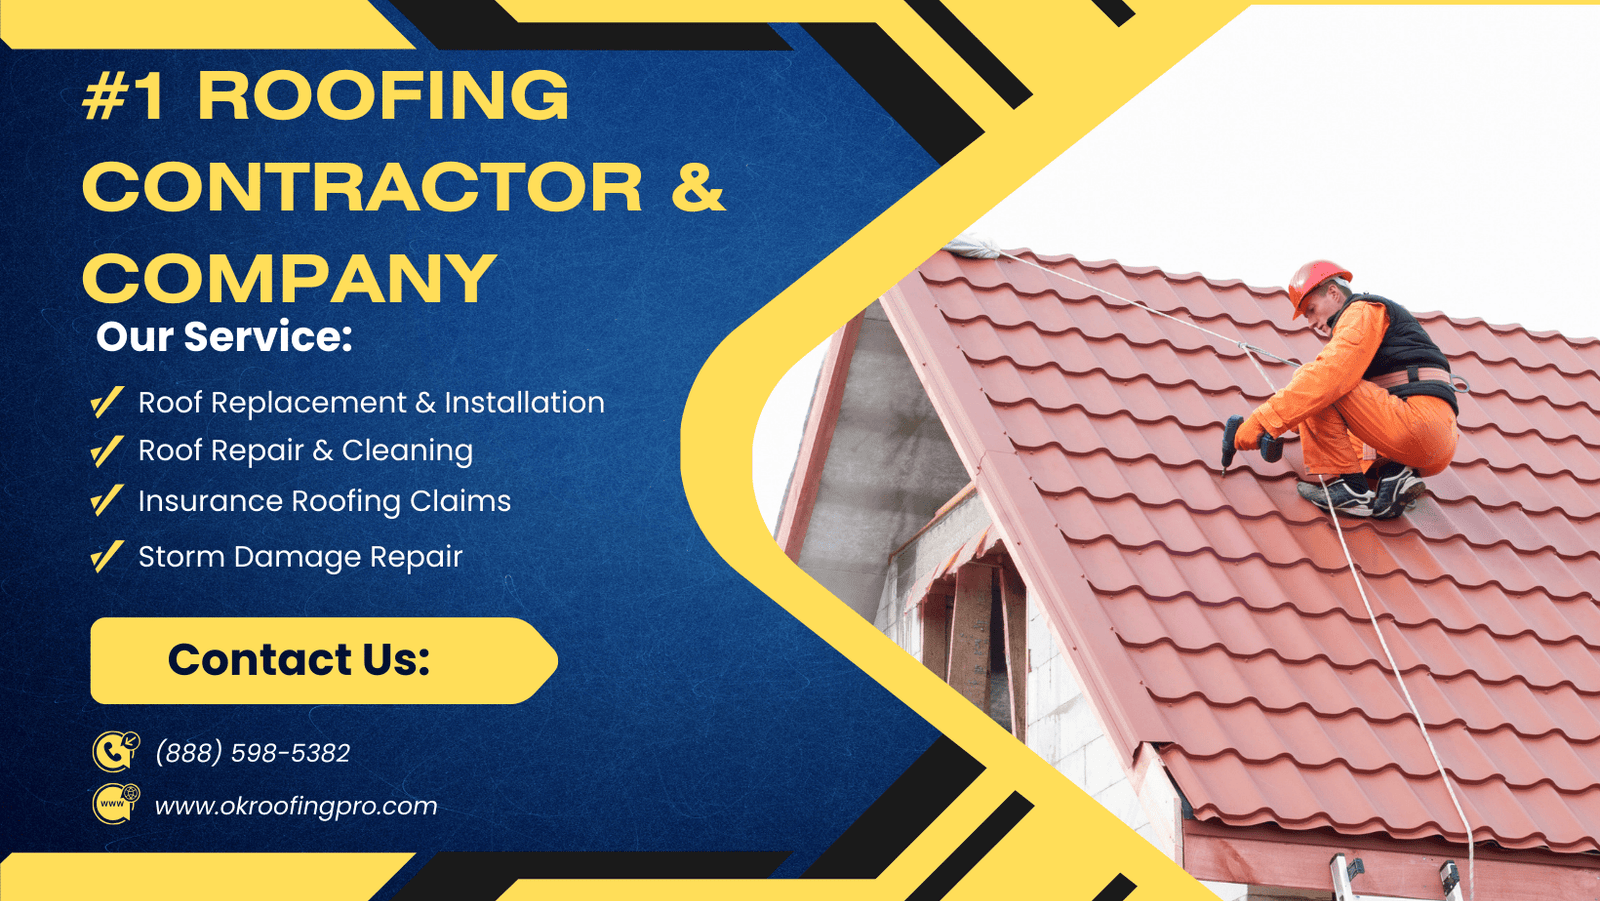
Ready to restore your roof’s protection? Dial (888) 598-5382 now for expert guidance. Prepare your ZIP code beforehand to connect with our closest service professionals efficiently.
Last Updated on December 6, 2025 by OKroofingPro