Table of Contents
Introduction
The roof is often considered the unsung hero of a home, providing vital protection against the elements. However, over time, shingles can wear out, become damaged, or suffer from environmental exposure. For many homeowners, the prospect of roof repair can seem daunting and expensive. Yet, opting for a DIY shingle replacement can be a smart choice, offering both financial savings and personal satisfaction. This article will explore the benefits of tackling this project on your own and provide a step-by-step guide to help you through the process.
Understanding the Benefits of DIY Shingle Replacement
One of the primary advantages of DIY shingle replacement is cost savings. Hiring a professional roofing contractor often incurs labor costs that can add significantly to the price of the project. By doing it yourself, you can save money on labor and invest it in quality materials instead. Additionally, this approach allows you to learn valuable skills that can be beneficial for future home maintenance tasks.
Moreover, replacing shingles on your own gives you full control over the project. You can choose the type of shingles, the color, and ensure that the work is performed to your standards. This flexibility can enhance the overall appearance of your home and potentially increase its value.
Tools and Materials Needed
Before starting your DIY shingle replacement, it’s essential to gather the necessary tools and materials. Common tools include a ladder, a hammer, a pry bar, roofing nails, and a utility knife. Additionally, you will need replacement shingles that match your current roof style and color. It’s also advisable to have a safety harness and eye protection to ensure your safety while working at heights.
Step-by-Step Guide to Shingle Replacement
Once you have your materials ready, the next step is to assess the roof and identify which shingles need to be replaced. Look for signs of damage such as cracks, curling, or granule loss. Once you have identified the damaged shingles, follow these steps:
1. **Prepare the Area:** Remove any debris on the roof and ensure that the weather forecast is clear for the day. Safety is paramount, so use your ladder carefully and wear appropriate safety gear.
2. **Remove the Damaged Shingles:** Use a pry bar to carefully lift and remove the damaged shingles. Be cautious not to damage the surrounding shingles during this process.
3. **Install New Shingles:** Position the new shingles in place, ensuring they overlap with the existing shingles to prevent water infiltration. Secure them with roofing nails, adhering to the manufacturer’s instructions regarding placement and spacing.
4. **Seal and Inspect:** After all new shingles are in place, inspect your work to ensure there are no gaps or loose shingles. For added protection, you may apply roofing sealant around the edges of the shingles.
Conclusion
In conclusion, DIY shingle replacement presents a practical and rewarding opportunity for homeowners. Not only does it provide a cost-effective solution to roof maintenance, but it also empowers you with knowledge and skills that can benefit your home in the long run. By carefully planning your project and following safety precautions, you can effectively replace your shingles and restore your roof to its former glory. Embrace the DIY spirit and enjoy the satisfaction that comes from taking care of your home.
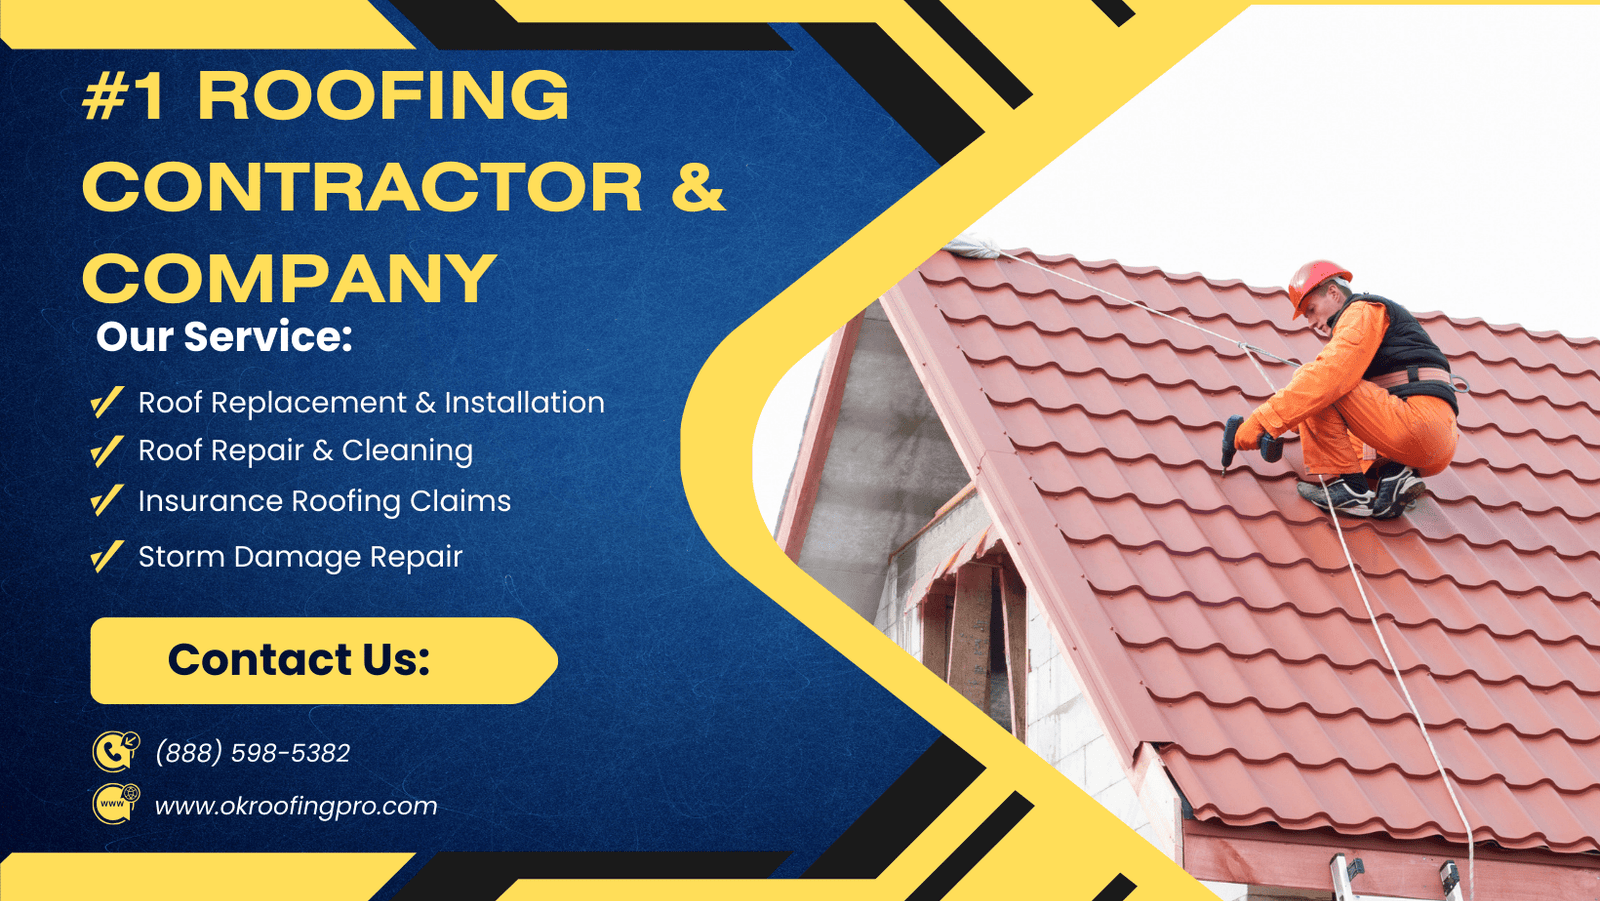
Ready to restore your roof’s protection? Dial (888) 598-5382 now for expert guidance. Prepare your ZIP code beforehand to connect with our closest service professionals efficiently.
Last Updated on January 20, 2026 by OKroofingPro