Table of Contents
Introduction
Tile roofs are renowned for their durability and aesthetic appeal, making them a popular choice in various climates. However, like any roofing material, tile roofs require regular inspections to ensure their longevity and functionality. Conducting a thorough roof inspection is crucial for identifying potential issues early, preventing costly repairs down the line. This article outlines key steps essential for a comprehensive tile roof inspection.
Preparing for the Inspection
Before initiating a physical inspection of the tile roof, it is important to prepare adequately. Begin by gathering the necessary tools, such as binoculars for a closer look from the ground, a ladder for closer inspection, and safety gear like gloves and non-slip shoes. Additionally, it can be helpful to review any previous inspection reports and maintenance records, as they may provide insights into recurring issues or specific areas that require special attention.
Conducting a Visual Inspection
The first step in the inspection is to conduct a visual assessment of the roof from the ground. Using binoculars, observe the overall condition of the tiles. Look for loose, cracked, or missing tiles that could impact the roof’s integrity. Additionally, pay attention to the roof’s edges, valleys, and ridges, as these areas are often prone to wear and tear. It is also essential to check for any signs of debris accumulation, which can impede drainage and lead to water damage.
Examining Flashing and Seals
Once the visual assessment is complete, it is time to examine the flashing and seals. Flashing is installed around chimneys, vents, and other protrusions to create a waterproof barrier. Inspect these areas for any signs of rust, warping, or deterioration. Deteriorated seals may allow water infiltration, which can result in leaks. Ensuring that flashing remains intact is vital for maintaining the overall health of the tile roofing system.
Assessing Underlayment Condition
Another crucial step in the tile roof inspection process is to assess the condition of the underlayment. The underlayment, typically made of waterproof materials, provides an additional layer of protection between the tiles and the roof deck. To evaluate its integrity, carefully lift a few tiles in inconspicuous areas. Check for signs of moisture, rot, or mold on the underlayment, as these can signify potential leaks or water damage.
Inspecting Interior Conditions
Following the exterior inspection, it is equally important to check the interior of the home for any signs of water infiltration or mold growth. Inspect ceilings and walls for discoloration, stains, or warping. Additionally, check attics for signs of moisture or mold, as these can indicate issues related to the roofing system. Early detection of interior problems can often prevent more significant repairs in the future.
Conclusion
Completing key steps for a tile roof inspection is essential for preserving the integrity and longevity of the roofing system. By preparing adequately, conducting thorough visual assessments, examining flashing and seals, assessing underlayment conditions, and inspecting interior areas, homeowners can identify potential problems early. Regular inspections not only extend the life of tile roofs but also provide peace of mind, knowing that your home is well-protected from the elements. Taking proactive steps today can save homeowners from unnecessary stress and costly repairs tomorrow.
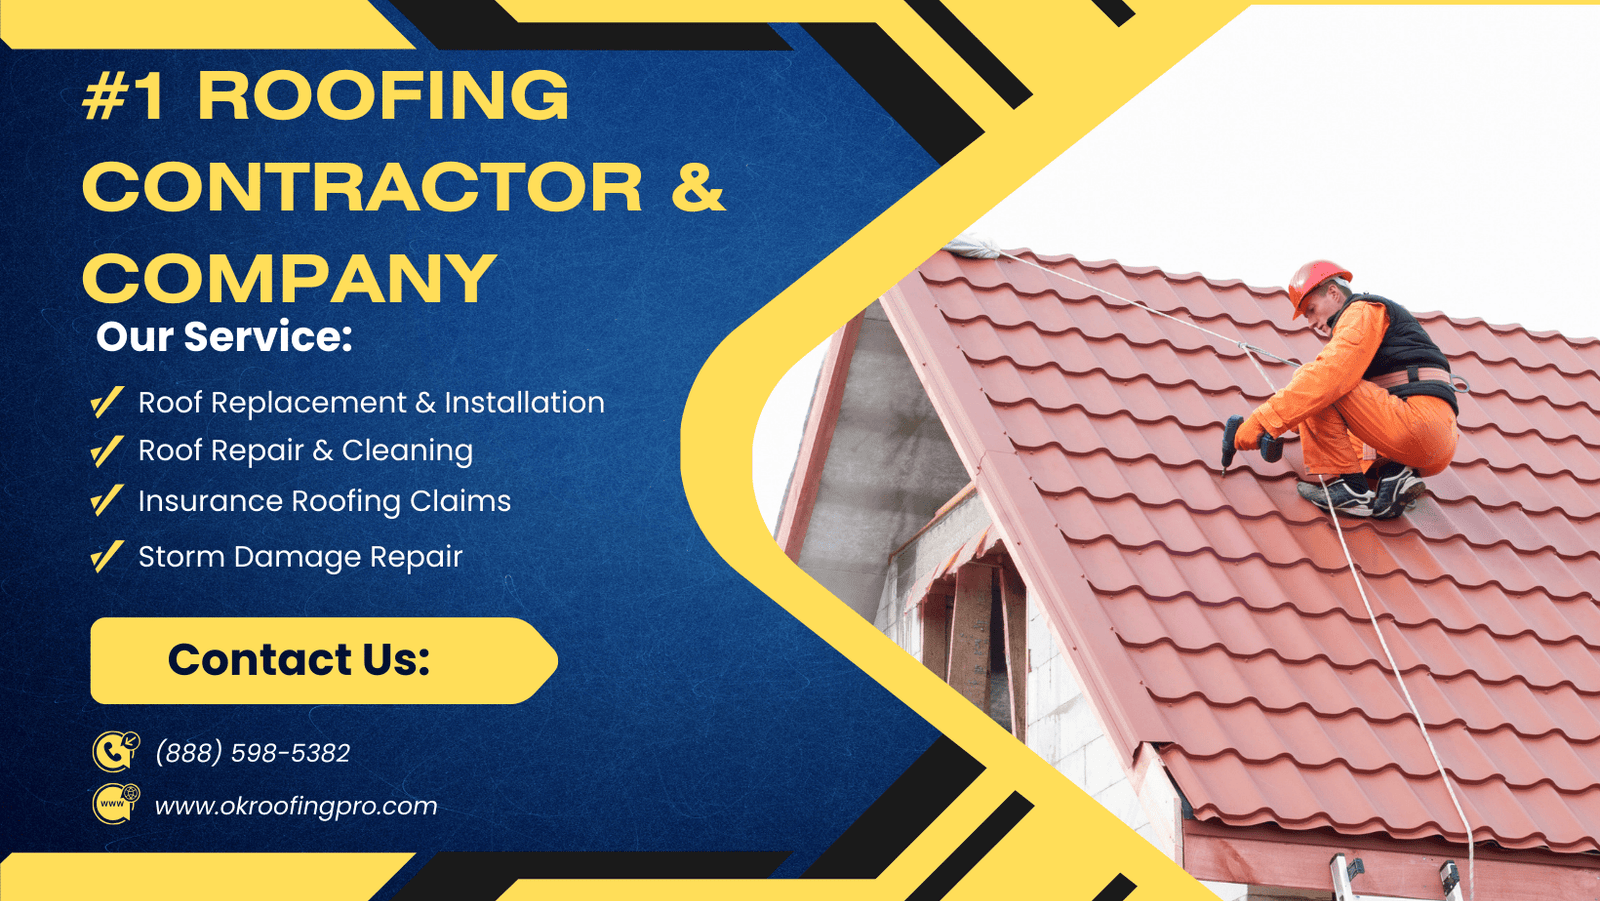
Ready to restore your roof’s protection? Dial (888) 598-5382 now for expert guidance. Prepare your ZIP code beforehand to connect with our closest service professionals efficiently.
Last Updated on December 6, 2025 by OKroofingPro